Mechanical
Electrical
Project Description.
The goal of the project was to apply our knowledge from class about motors, drivers, signal conditioning, mechanical design, SPI communication, and hierarchical state machines to solve an open-ended problem.
Our task was to design and create an autonomous robot to play a game simulating construction delivery. In the game, two robots competed by navigating across a field to check into stations and by ballistically delivering construction supplies. During gameplay, each robot traveled to a specified station on its side of the game board (out of three in total) and read and reported the frequency of the magnetic field at that station to check in. After checking in successfully, the robot became eligible to score by shooting a foam ball into a specified bucket about six feet away. The opening lasted for 20 seconds or until a shot was made. Any ties were broken based on the number of successful check-ins. There was a "supply depot" on each side of the board for the robots to reload when they shot all of their balls.
We were provided with drive motors, a microcontroller, and an SPI communication peripheral device and then had the freedom to work with any other sensors or motors of our choosing to accomplish our task. The game board featured a line of black tape with electrical wire underneath and four infrared (IR) beacons at fixed locations pulsing at unique frequencies to facilitate multiple navigation strategies. When a bucket was opened for shooting, another IR beacon on the bucket pulsing at a fifth frequency would turn on as well. The line ran from the starting wall, through each of the stations (staging areas), and ended at the reloading position. Click here for the complete project description (including a drawing of the game board).
Our Strategy.
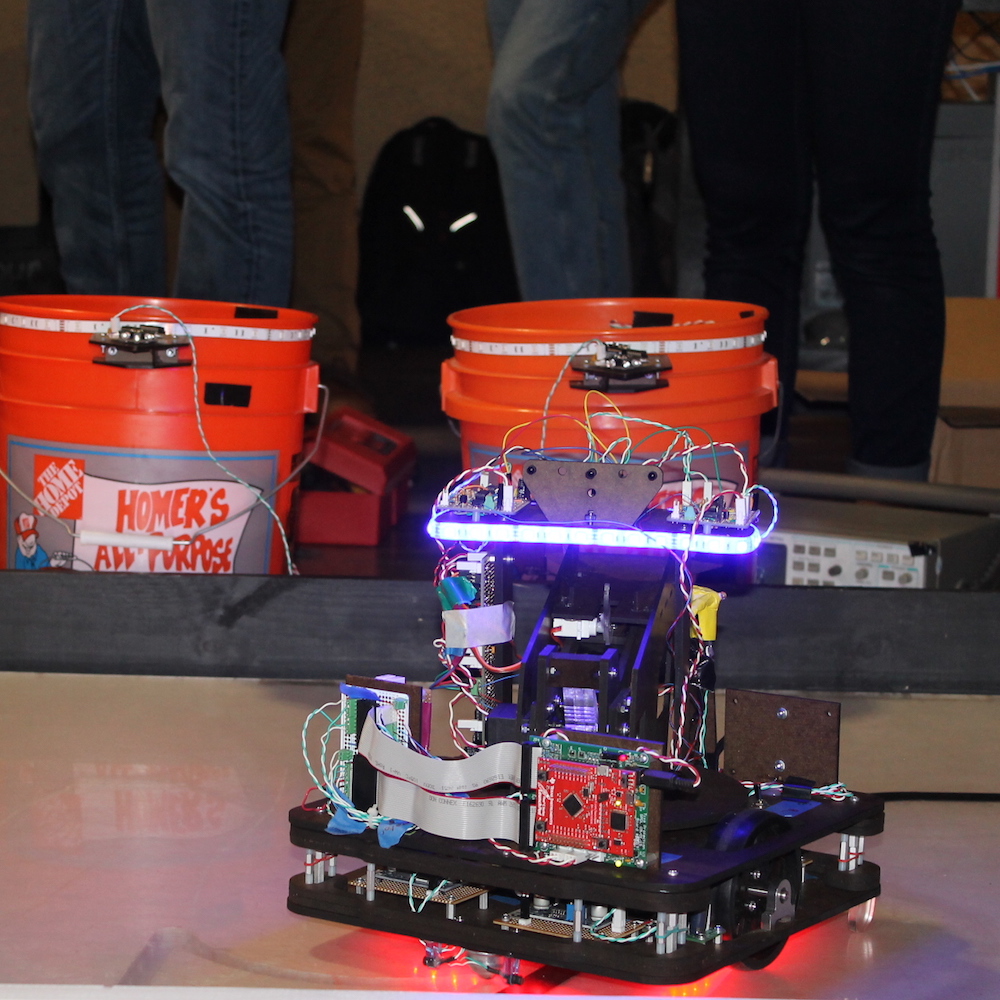
Our robot, Romeo, was designed to follow the line through the staging areas and never leave it for any reason. To accomplish this, we used two sets of line following sensors so that we could drive forward and backward on the line without turning around, and we designed a turret on top of the vehicle that could rotate independently of the base to aim the shooter without ever turning away from the line. This strategy was intended to minimize the complexity of our drive control logic.
To follow the line, we designed resonant RLC circuits (two in front, two in back) to detect the magnetic field generated by the current flowing through the wire under the black tape on the game board. We implemented closed loop PD control on the difference between the two signals in order to set our drive motor speeds to follow the line.
To detect any obstacles along the way, we designed a bumper suspended with rubber bands that would trigger a limit switch whenever the robot made contact with the wall or any other obstruction.
To read the frequency of the magnetic field at the staging areas, we placed a Hall Effect sensor near the ground underneath our robot.
To find a specific IR beacon, we placed a photodiode at the center of our turret configuration to detect the frequency and align the turret to that beacon. We also designed two phototransistor peak detector circuits to measure the amplitude of the IR signal and placed them on either side of the photodiode. These circuits were used for differential closed loop PD control to align our turret centrally to the beacon and maintain that position even if the robot were to drive to a new position. This was intended to save time and reduce error in searching for a new beacon by maintaining a constant reference position. It also prevented alignment with the opposing team's target beacon because all of the bucket beacons had the same frequency.
To score points once aligned, we designed a shooter that used a high torque servo motor to bend a metal ruler and then release it to flick a ball at the bucket. This shooter was fed by a loading ramp that aligned to the supply depot for reloading and a second servo that placed a single ball at a time in the launch position.
Gallery.
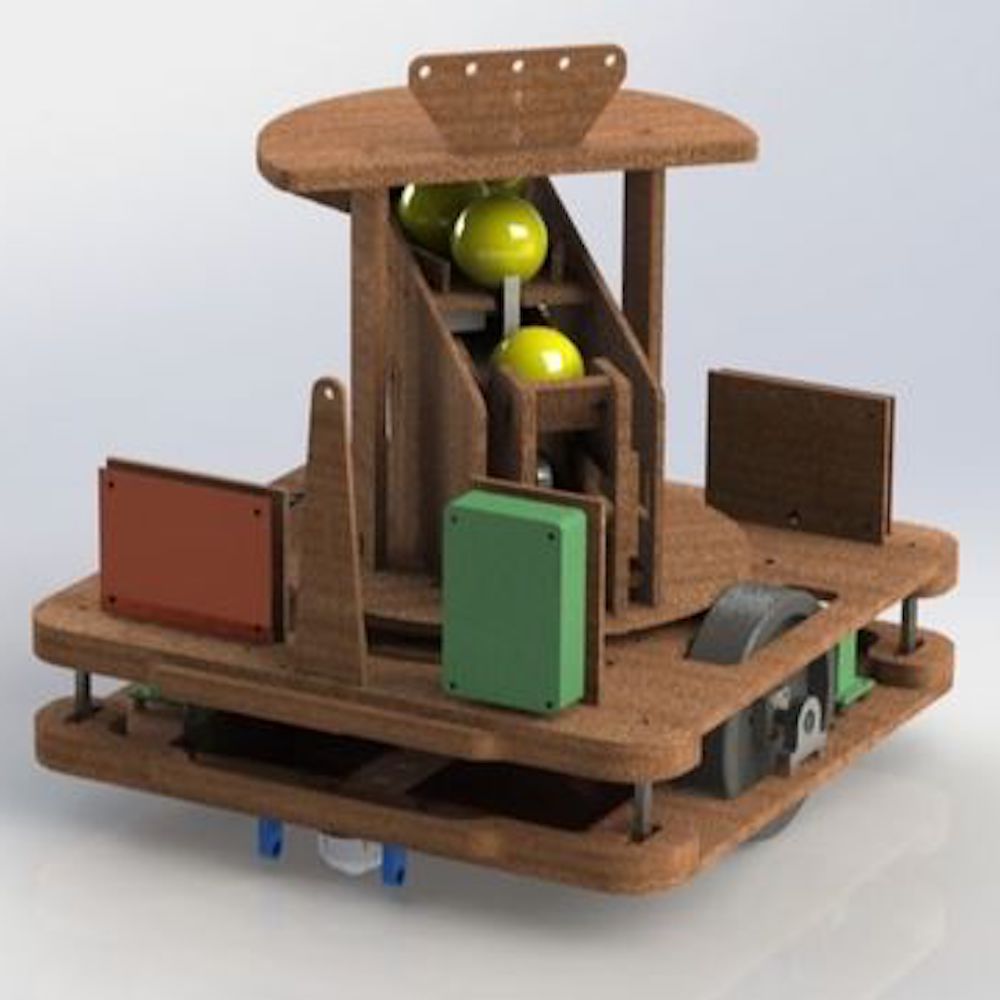
CAD Rendering
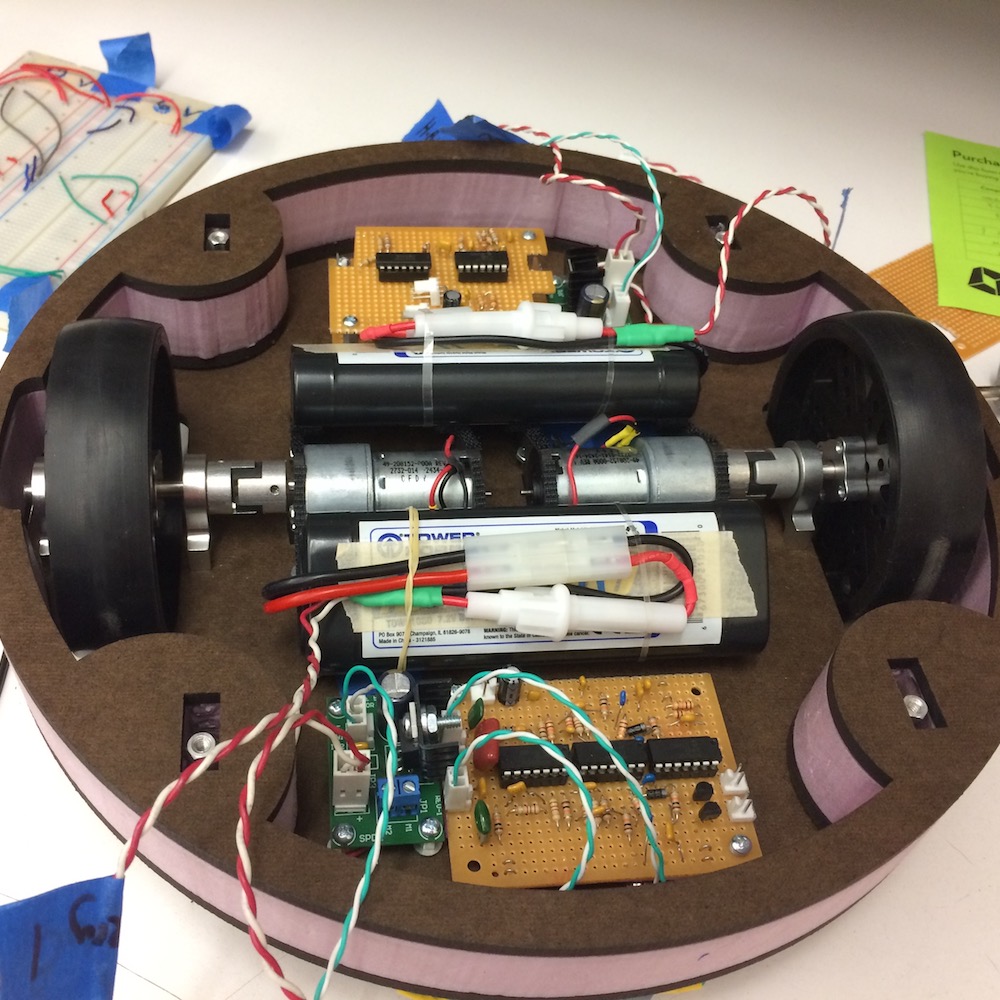
Drivetrain in our First Design
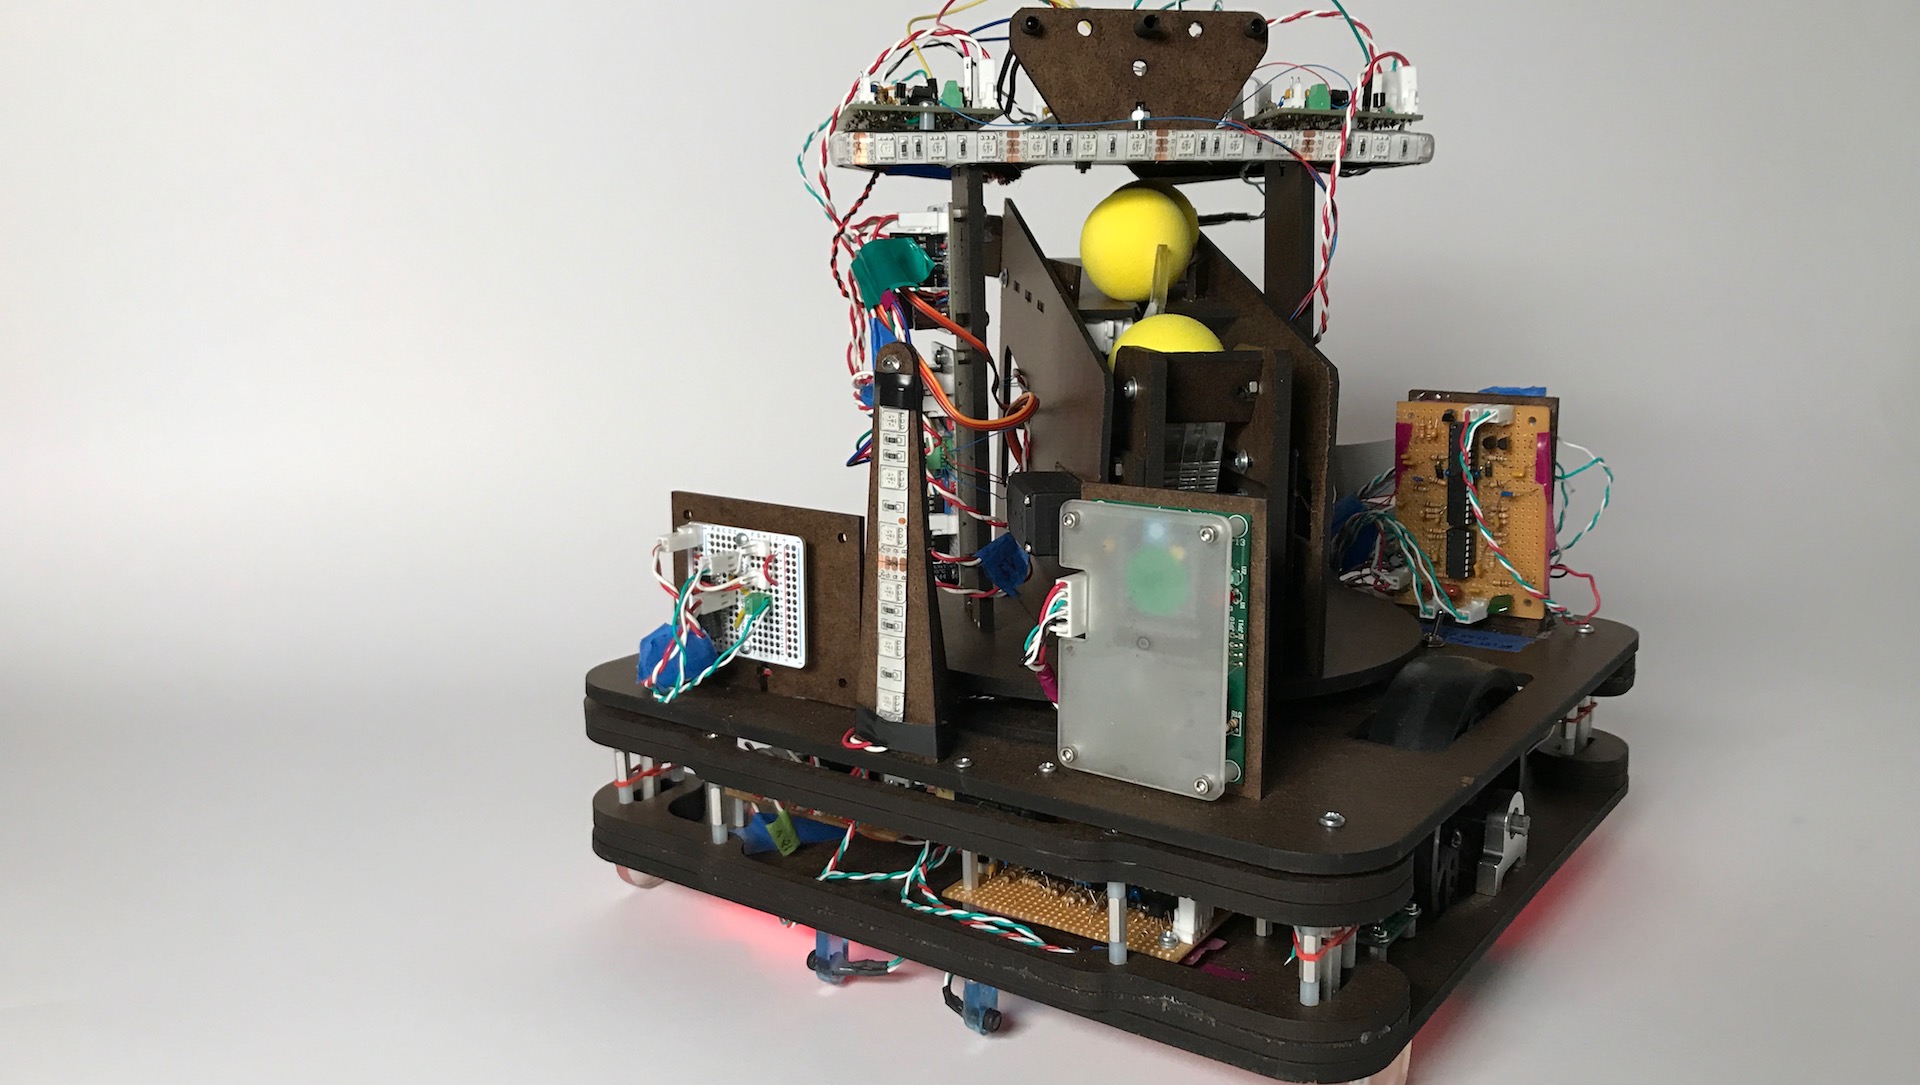
The Final Design
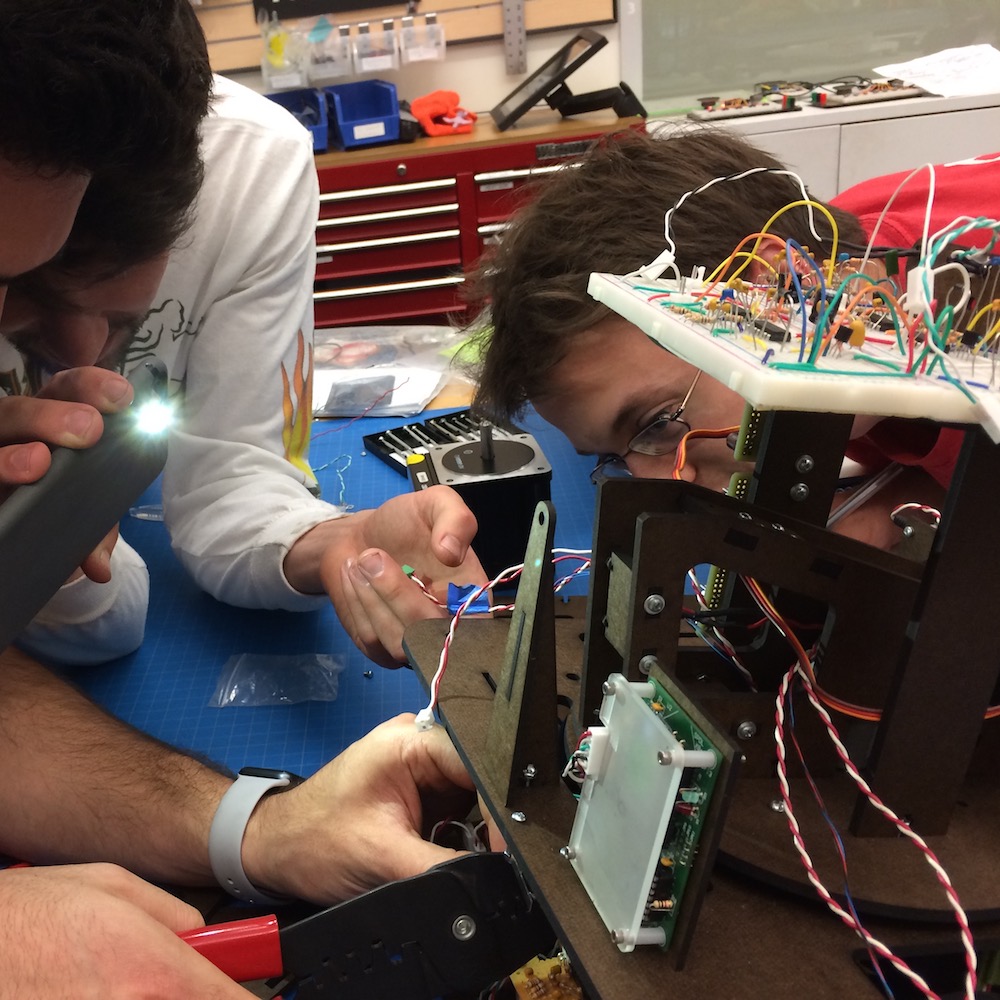
Getting Involved in the Assembly
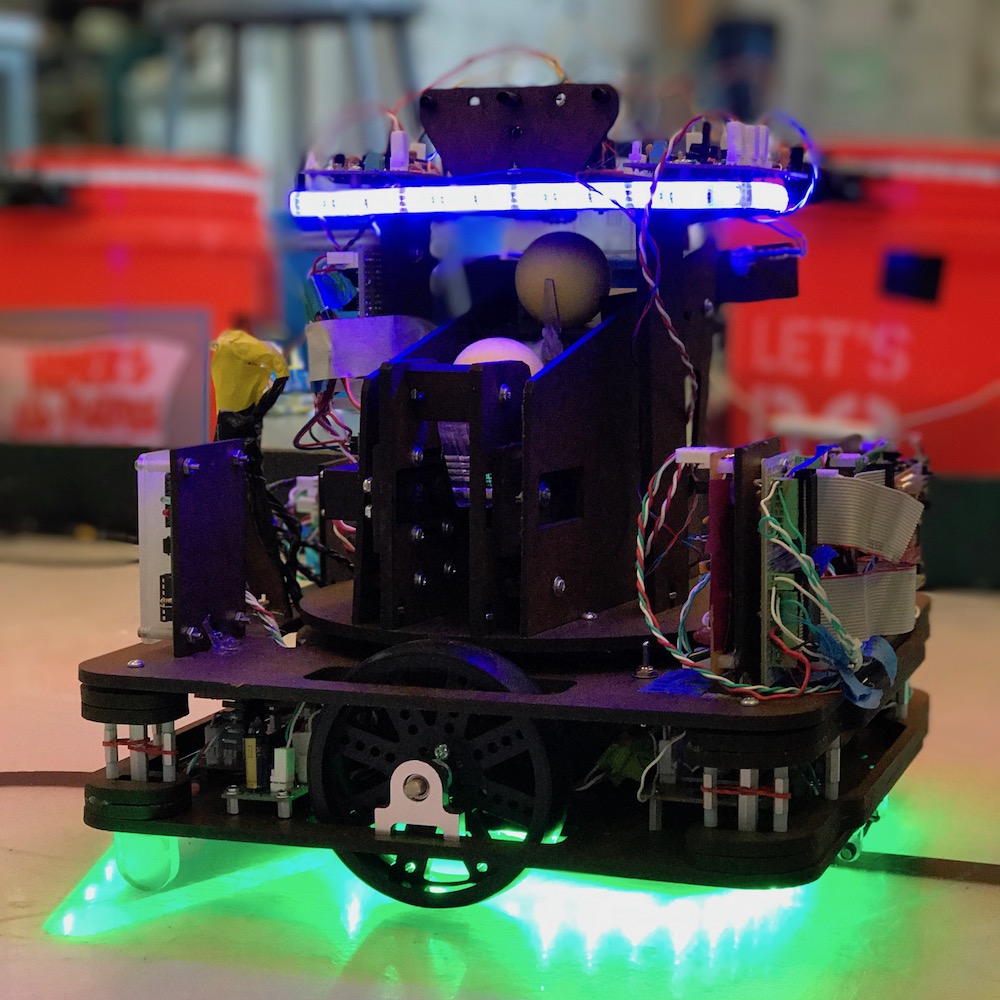
In the Semi-Finals
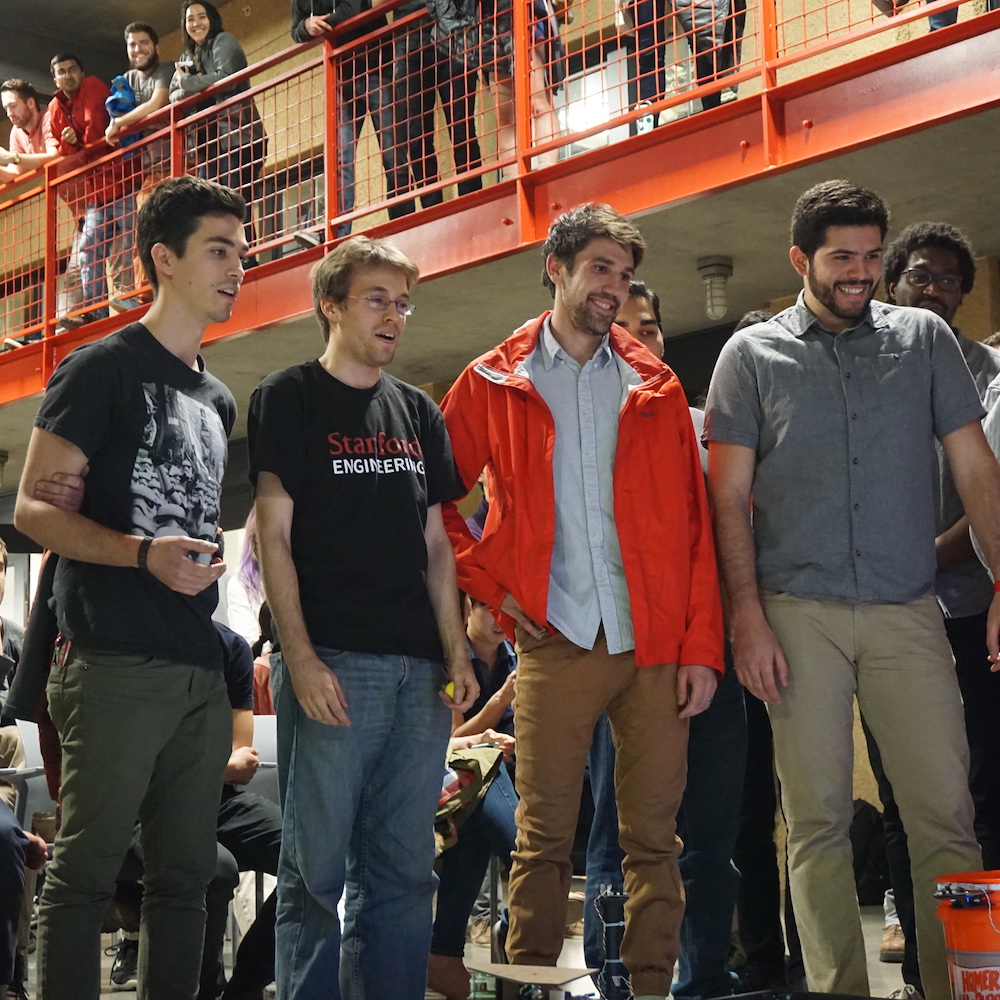
Team Romeo